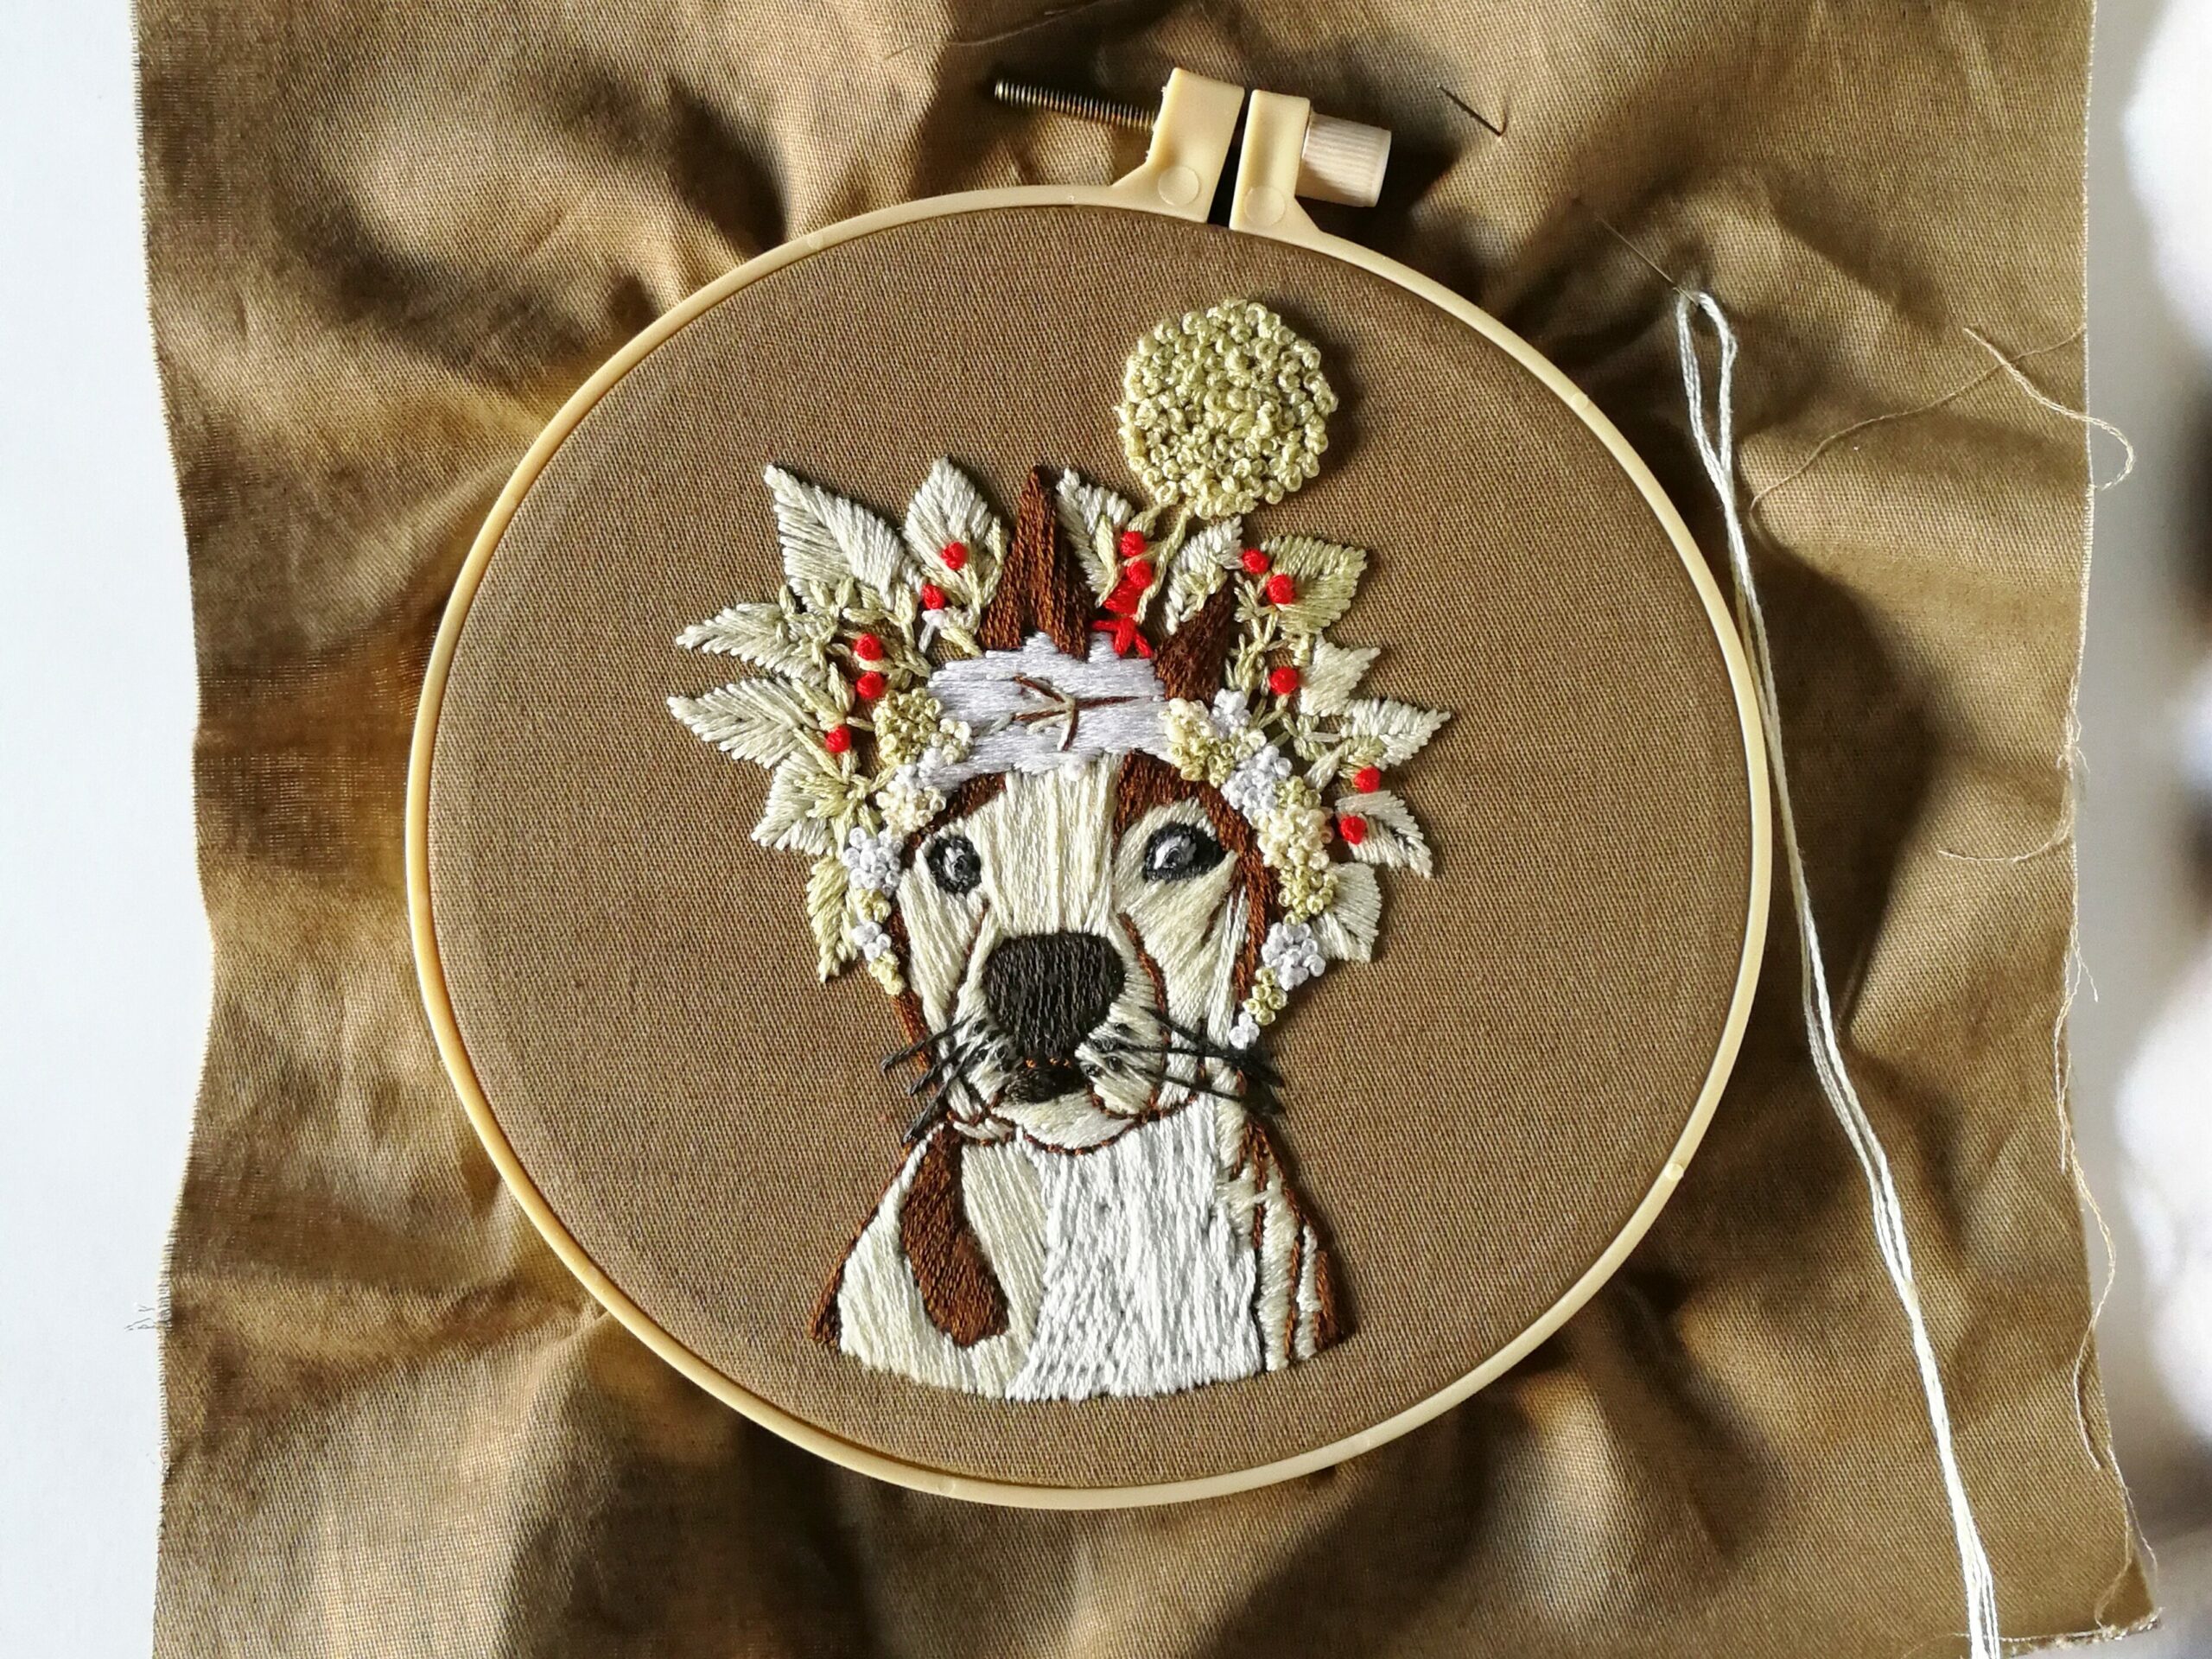
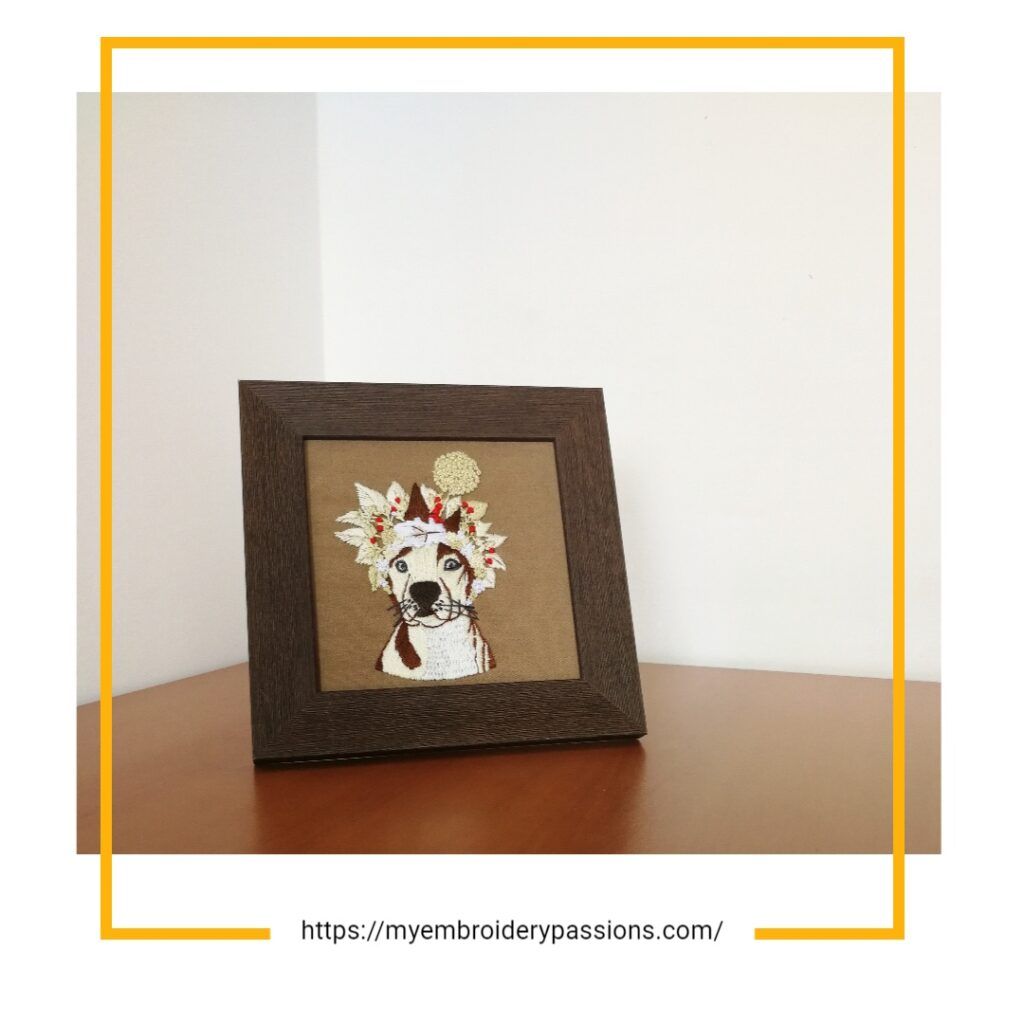
I was finishing beautiful dog embroidery that was a gift for a dear friend. I was thinking hard about where to implement if so she will look at it often. Should I put it on a tote bag or a T-shirt? And then it hit me – she loves pictures. So I have accepted the challenge and learned how to frame embroidery and I am sharing it step by step with you.
Step 1: Gather Materials & Supplies
If you want to follow this tutorial you will need the following supplies:
- finished embroidery,
- picture frame,
- scissors,
- masking tape,
- soft pencil (2B- 5B) or washable marker.

Step 2: Position your embroidery and secure it
First you need to remove your embroidery out of the embroidery hoop. If you have some stains on your emobridery, you will need to wash it first.

After you select and buy your frame, you will need to open your frame and take out the glass. You place your embroidery on a table, the right side is laying on the table and you put the glass on the backside of your embroidery. You will make a soft marking on the left and the right side of the embroidery.
PRO TIP: I recommend you use the transparent time for the first time positioning of embroidery.
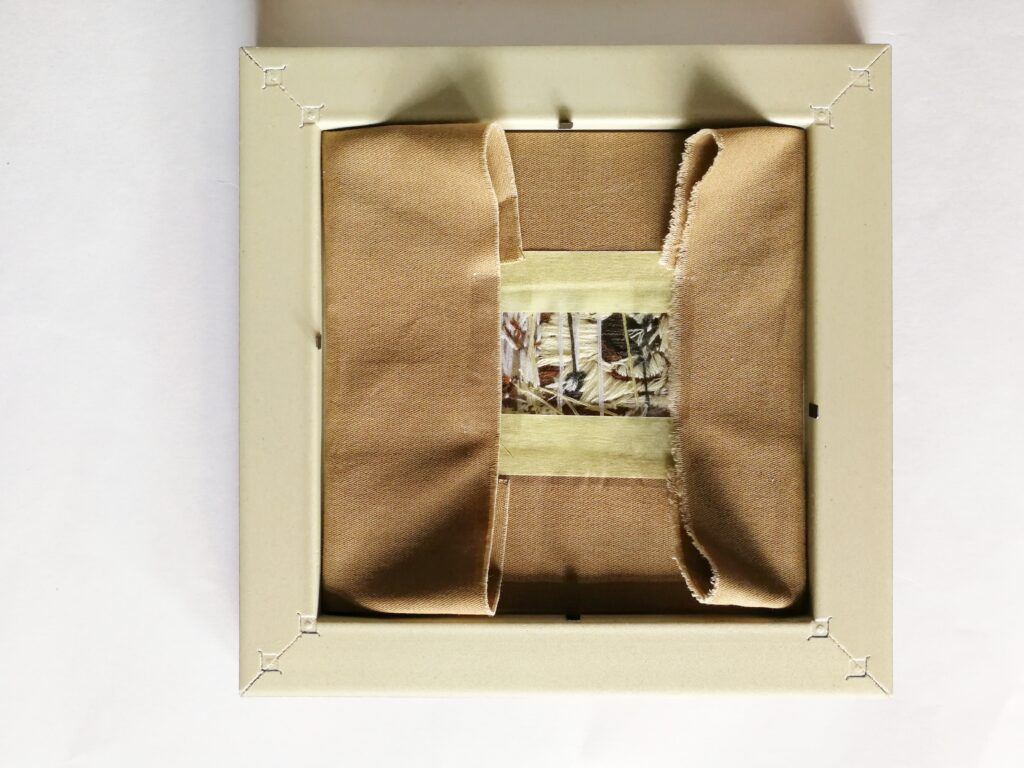
After you apply the tape then you turn it around and check how it looks. If you need to re-adjust the embroidery, now is the right time to do it.
Step 3: Check how your frame embroidery looks
Before you have secured top and bottom of embroidery, you have to put embroidery into frame and turn it around. This double check is very important, because sometimes some tiny adjustment need to be made and that is important, because we will be looking at it often.
After you are checked everything is in the right place, I recommend that you double tape it with masking tape. This will provide a firm and secure grip between glass and your embroidery.

Step 4: Close the Frame and enjoy the View
After you have finished with masking tape, it is time that you close down the back of your embroidery.
PRO TIP: if you cannot close the frame, I recommend that you trim off extra material at the edges. Be careful that you will not trim it too far, because it may show on the other side of your embroidery picture.

How to Frame Embroidery by yourself?
Well, it is easy, because you just follow the steps that I have described. If you have any more questions, please, let me know in the comments and I will try to reply as soon as I can.
If you are looking for an embroidery design and more pattern ideas that you would love to finish and frame, you can check out what are my recommendations at: https://myembroiderypassions.com/freebies/
Stay safe and healthy and I wish you lots of time for creating.
